

Compatibility
FlexxAgent is compatible with Windows versions that are within Microsoft’s official support lifecycle:- Microsoft Windows 10 or later.
- Microsoft Windows Server 2016 or later.
On devices running Windows 10 version 21H2, you must have update KB5039211 installed before installing the agent, as this version of the operating system contains a known issue that may affect the installation. This requirement does not apply to Windows 10 version 22H2 or later versions.
Architecture requirements
FlexxAgent is only compatible with 64-bit operating systems. It cannot be installed on 32-bit systems.Architecture
FlexxAgent is distributed as a single executable. During installation, the components necessary for its execution are configured automatically at both the system and user session levels. This architecture simplifies agent administration, streamlines diagnostic tasks, and reduces the operational complexity associated with its maintenance.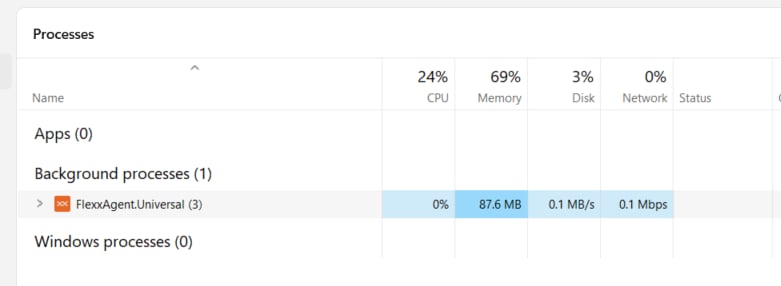
Resource consumption
FlexxAgent is optimized to minimize its impact on device performance. Approximate consumption values are as follows:Download and installation
- Click Download FlexxAgent, available at the bottom of the side menu.
- Select the reporting group that will be associated with the device.
-
Download the configuration file
(.conf)and the Windows installer. The operating system may block files downloaded from the Internet. If this happens, they will need to be manually unblocked before starting the installation.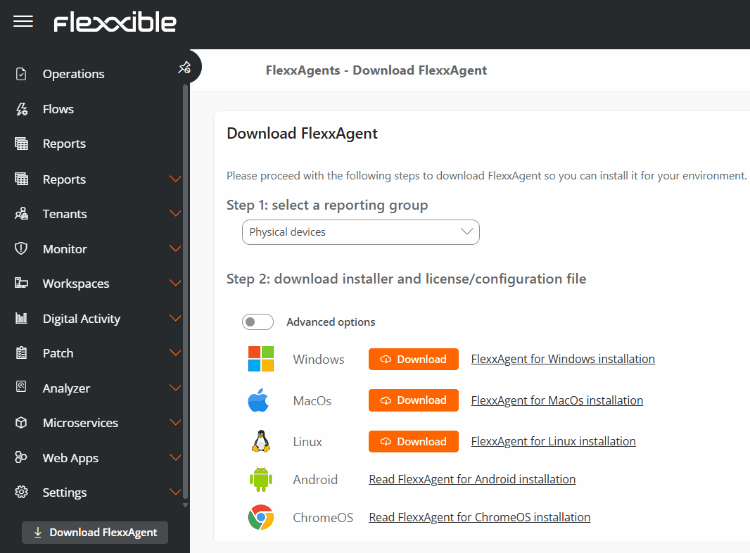
Installer types
The advanced options let you select the installer format: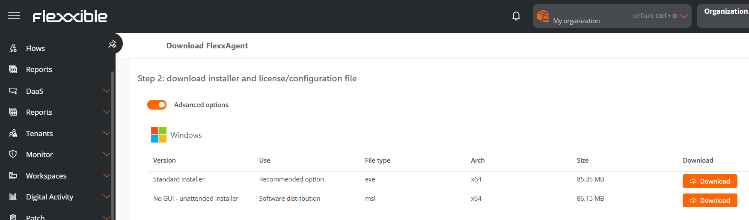
Installation via graphical interface
To install FlexxAgent through the graphical interface:-
Run the downloaded
.exefile. -
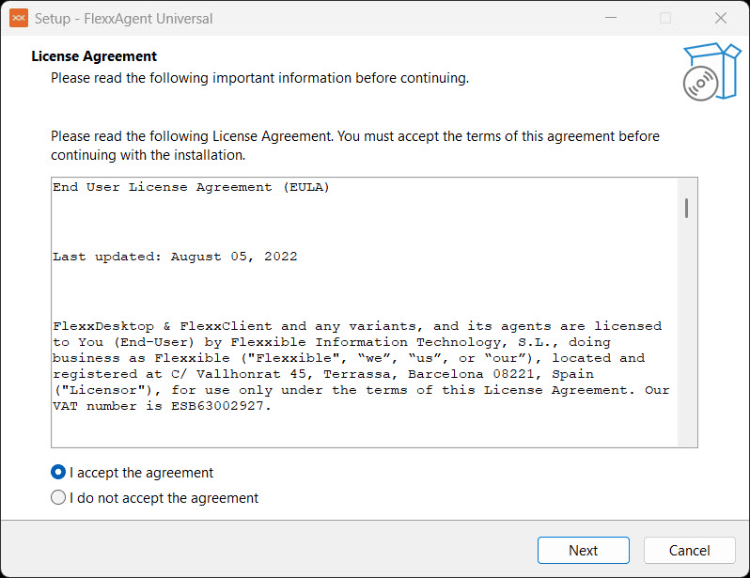
Read and accept the license agreement.
-
Select the configuration file
(.conf)downloaded previously.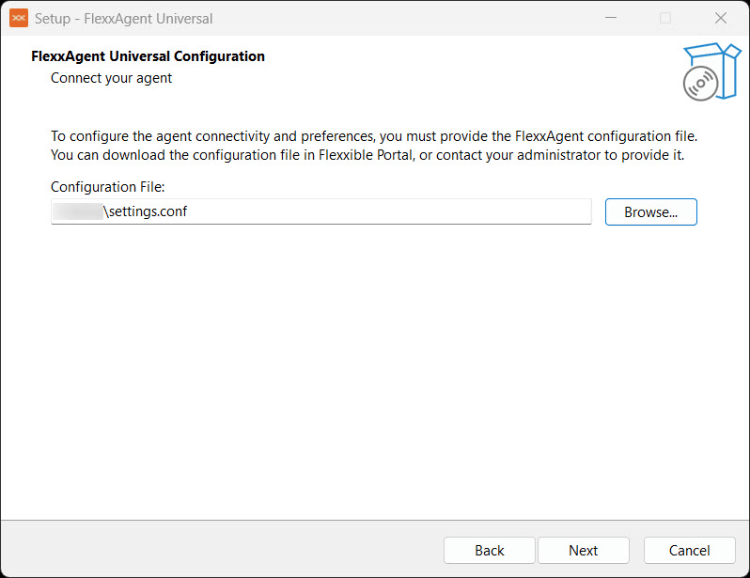
-
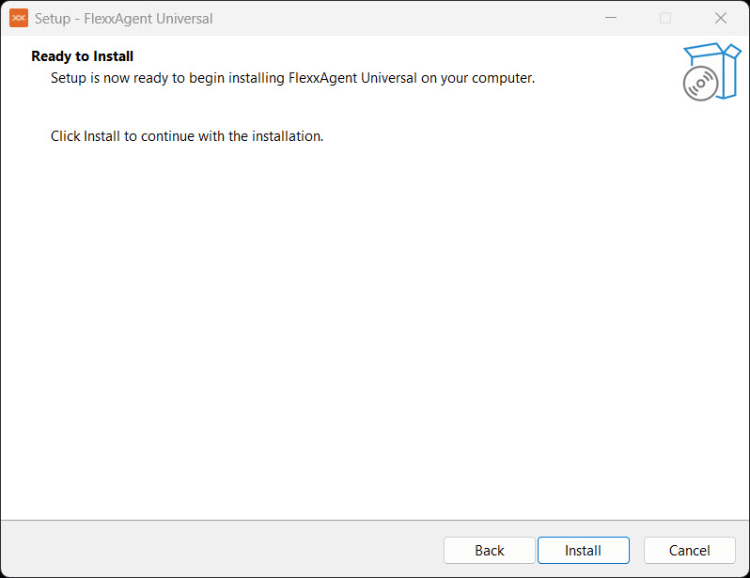
Click Install to start the installation process.
Unattended installation
FlexxAgent supports unattended installations using the downloaded files.- Installer (
.exeor.msi). - Configuration file (
.conf).
Installation via EXE
Available parameters
Example
Installation via MSI
Available parameters
msiexec options
Example
Uninstallation
FlexxAgent can be uninstalled manually from the device’s Control Panel. To perform an unattended uninstallation, you can use the following methods.Uninstallation via EXE
Uninstallation via MSI
Connectivity test
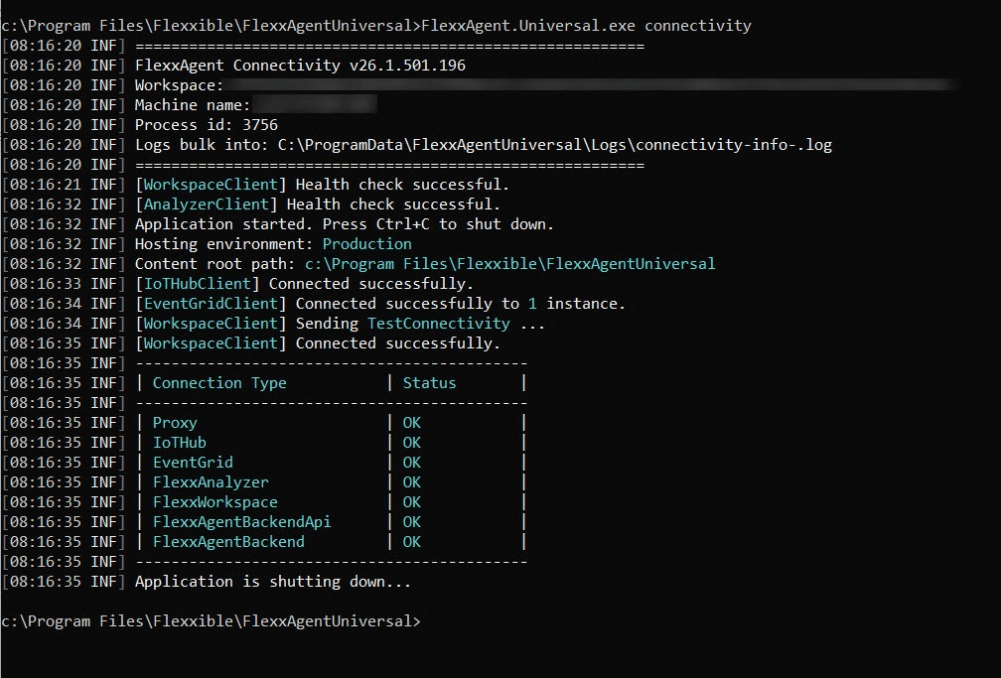
The connectivity test lets you verify that FlexxAgent can communicate correctly with Flexxible services. To run it, you need administrator permissions on the device.Steps to run the connectivity test
- Open a console with administrator privileges.
-
Change to the installation directory:
-
Run the following command:
- Review the diagnostic information shown on the screen.
Proxy configuration
If the environment uses a proxy server to access the Internet, the configuration must be done before installing FlexxAgent. To do so, modify the downloaded configuration file (.conf) and add the proxy parameter to the [Agent/Network] section.
Proxy without authentication
Proxy with authentication
Magic link
Available only in FXXOne environments.
Create a magic link
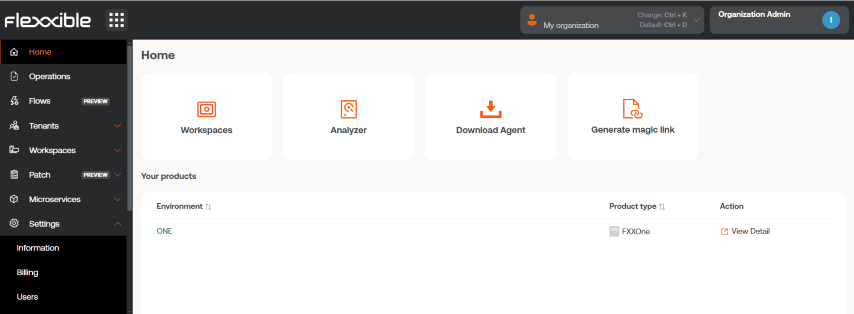
- Go to Home from the platform menu.
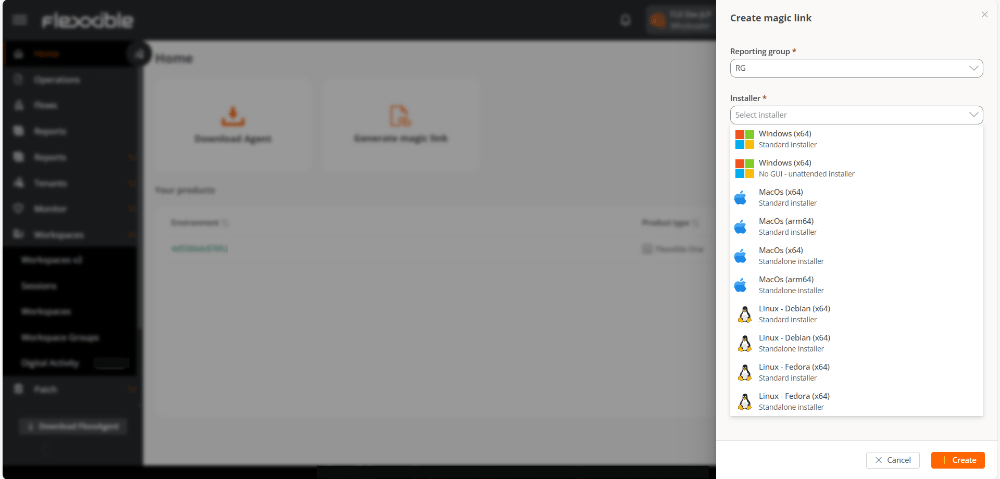
- Click Generate a magic link.
-
Complete the form indicating:
- The reporting group associated with the link.
- The platform for which the installer is required.
- The number of days during which the link will remain active.
- Click New.
- Copy the generated link and click OK.
Use a magic link
To use a magic link, simply copy it and paste it into the address bar of a web browser. Once you access the link, the installer will start downloading and a confirmation page will be displayed.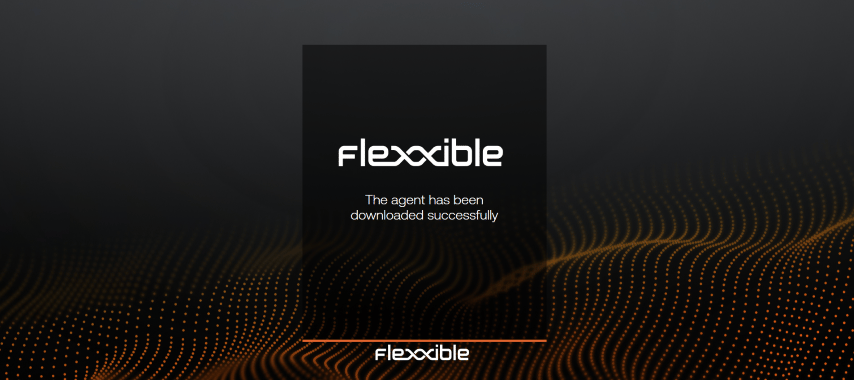
Revoke a magic link
- Go to Settings → Reporting groups.
- In the Action column of the reporting group, select the Revoke option.
- Confirm the action by clicking OK.